Integration - Dynamics 365 Finance & Operations
A list of Technical Deliverables to get Lucy integrating.
Checklist
- 1. Lifecycle Services Package installed
- 2. Dynamics URL provided
- 3. Create App in Azure Active Directory (AD)
- Assign (and create if required) AD User for App
- 3.6 Configure Permissions for App
- Provide App ID to key into Lucy
- Provide App Key to key into Lucy
- Provide Azure Active Directory Tenant ID
Technical Guide
1. Lifecycle Services Package Installation
- Download the Lucy Integration Package and save it locally - https://www.letlucy.com/hubfs/Lucy%20Integration%20Client/AXDeployablePackage_20180718_13_16_38.zip
- Login to Lifecycle Services and select Shared Asset Library (without selecting a Project).
- Select Software Deployable Package.
- Click "+" to upload a new package file.
- Enter a Name and Description that is meaningful to you.
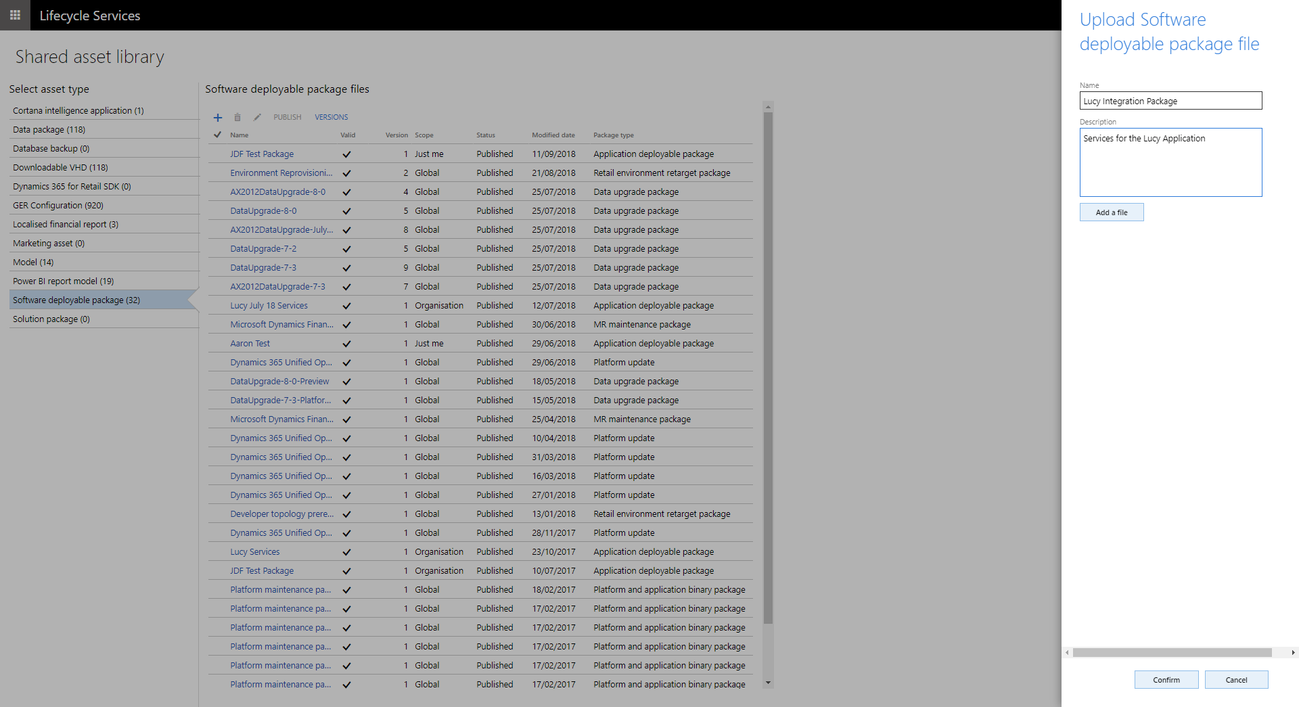
- Click Add a File and browse to the saved package from step 1.
- Click Upload, then Confirm.
- The application will now appear in the list of files.
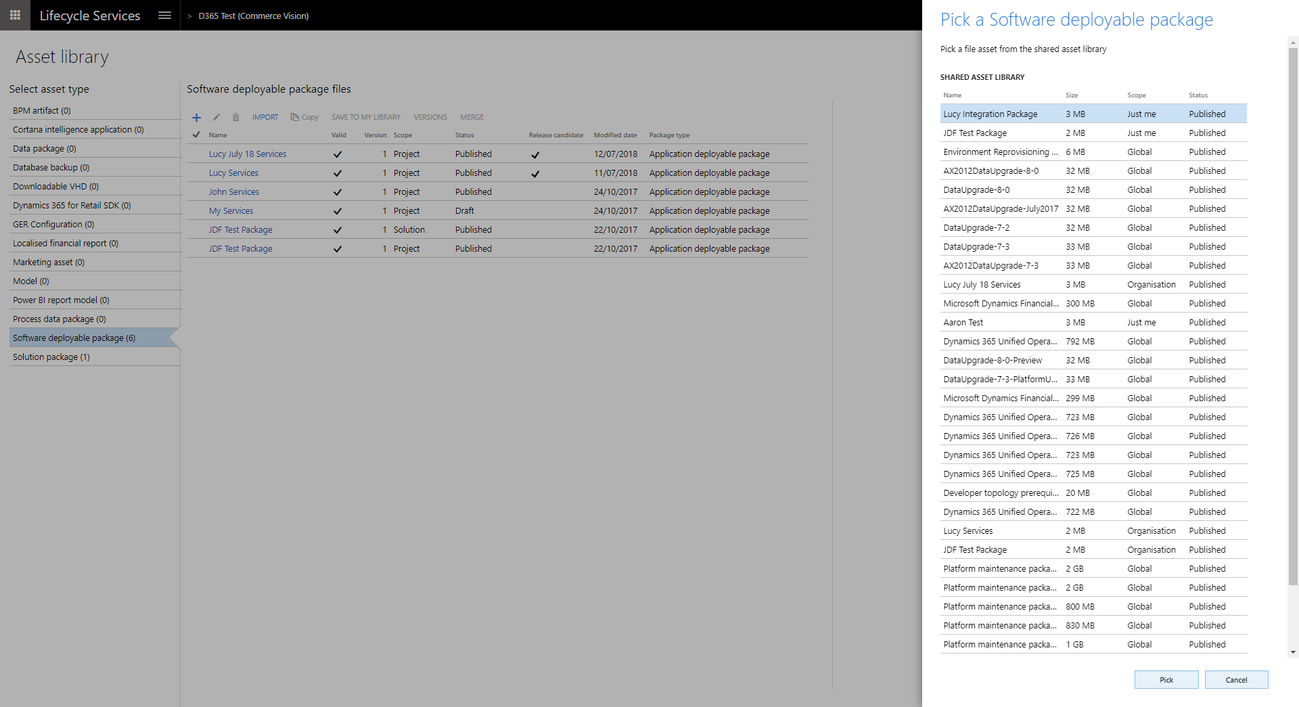
- Navigate back to the Lifecycle Services home page and select your project.
- Select Asset Library, then Software Deployable Package.
- Click Import, select the Lucy application from the list and click Pick.
- Select the application from the list by ticking it.
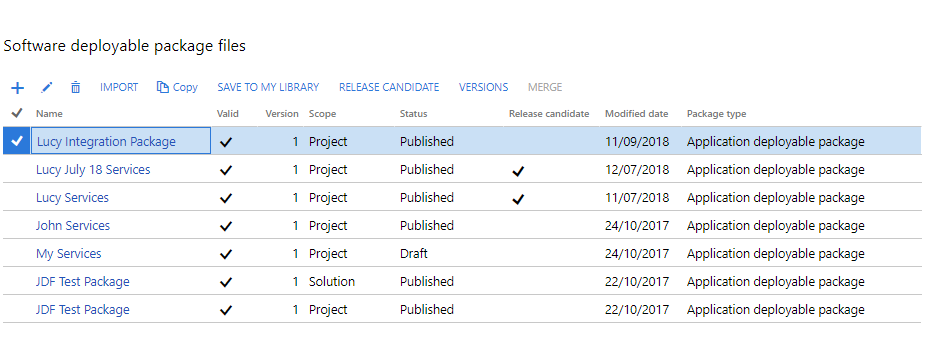
- Click Release Candidate.
- Navigate back to the Lifecycle Services home page and select your project.
- Select your Environment.
- Click Maintain
- Select Apply Updates
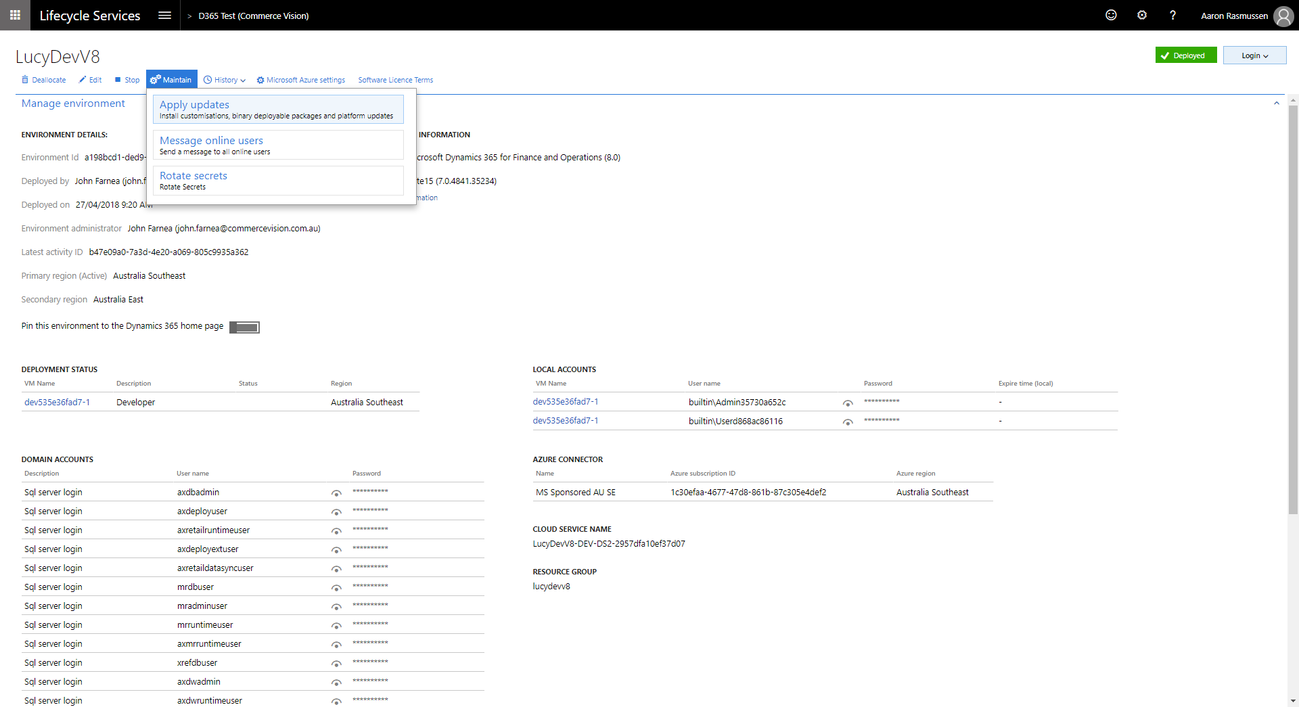
- Select the Lucy app from the list and click Apply.
Please note: this step may take several hours to complete, and your Dynamics environment will not be available during this time.
We recommend performing this process out of hours.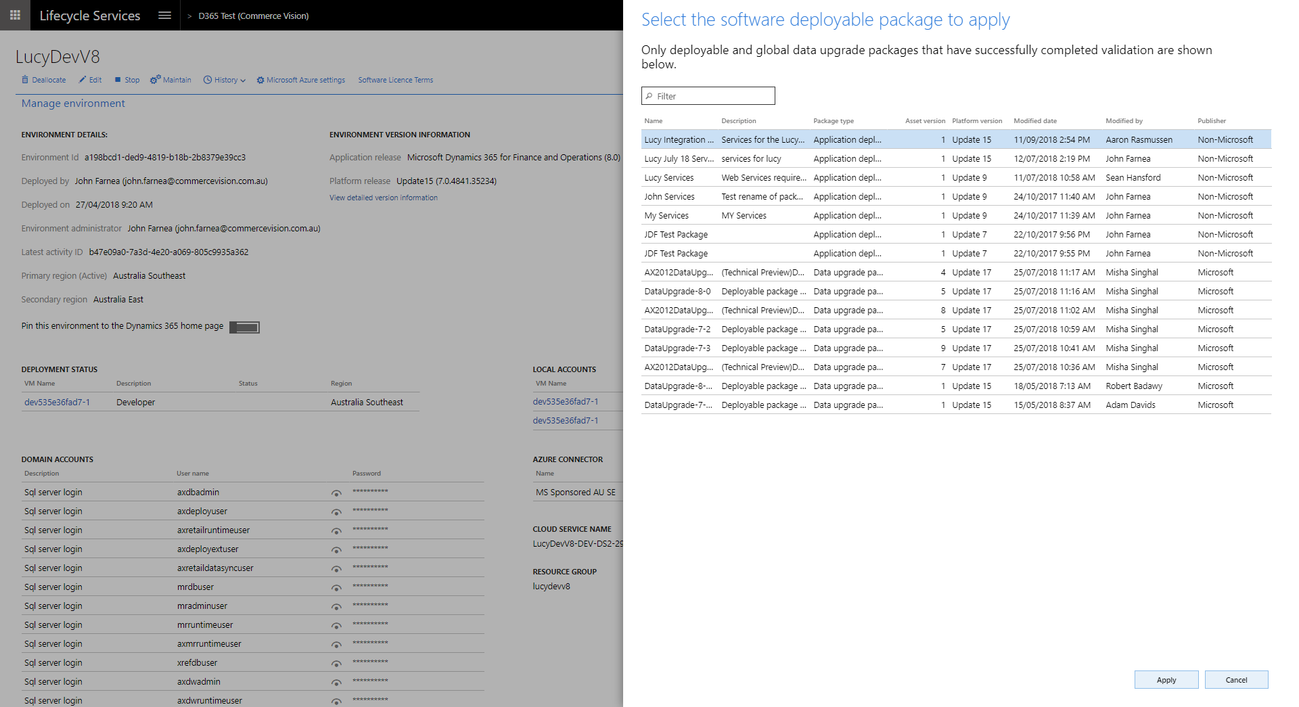
2. Update Lucy with the Dynamics URL.
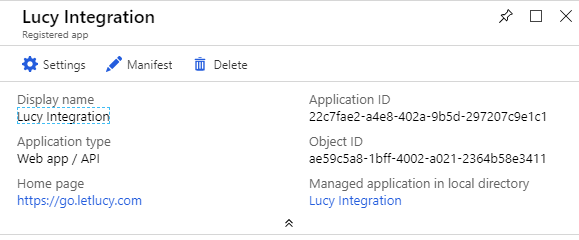
3. Create the Azure Active Directory App
- Login to your Azure portal (https://portal.azure.com)
- Navigate to Azure Active Directory → Properties
Copy your Directory ID somewhere as you will need to paste this into Lucy later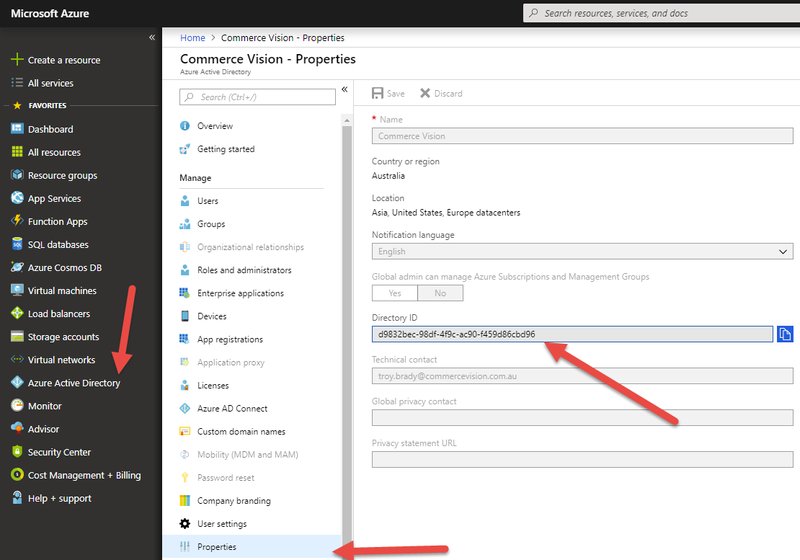
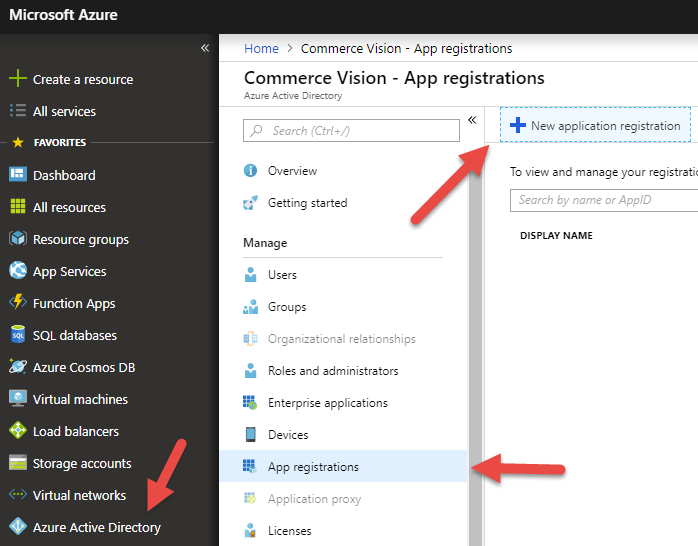
- Navigate to Azure Active Directory → App registrations → New application registration
- Fill in the below information and click Create
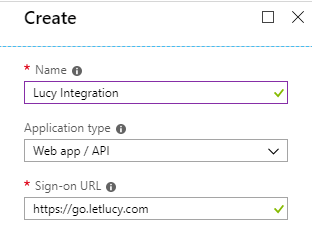
- Now that your app has been created, copy your Application ID somewhere as you will need to paste this into Lucy and Dynamics later
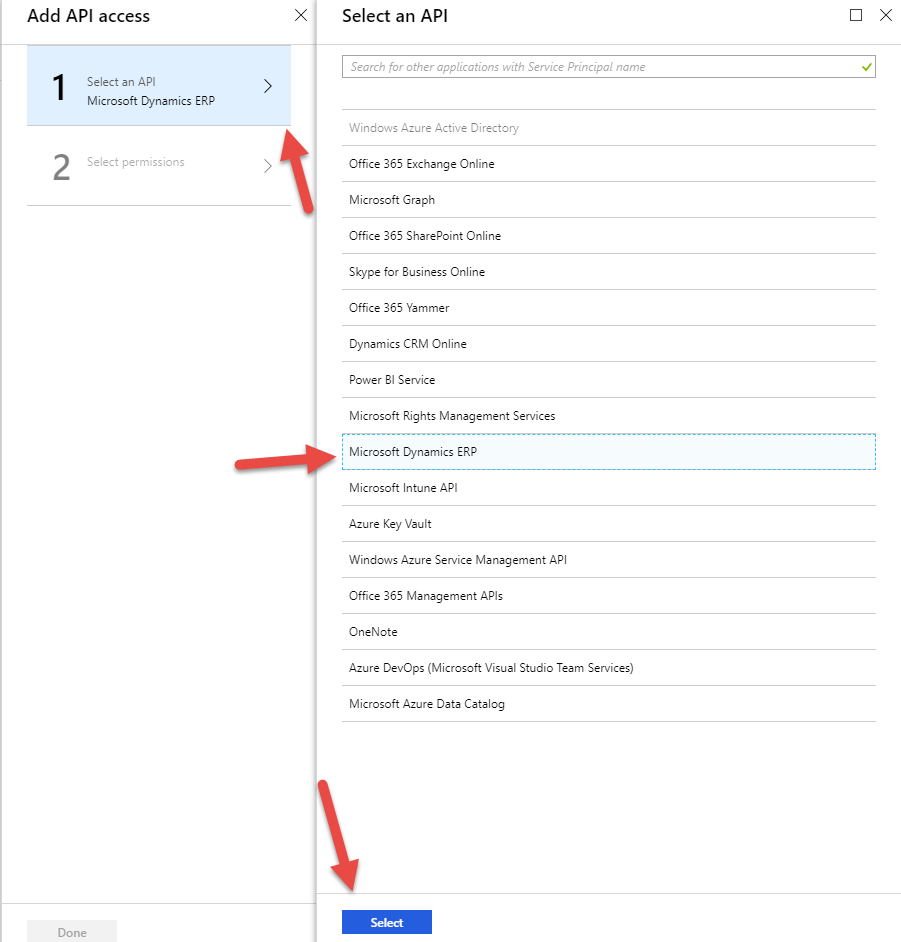
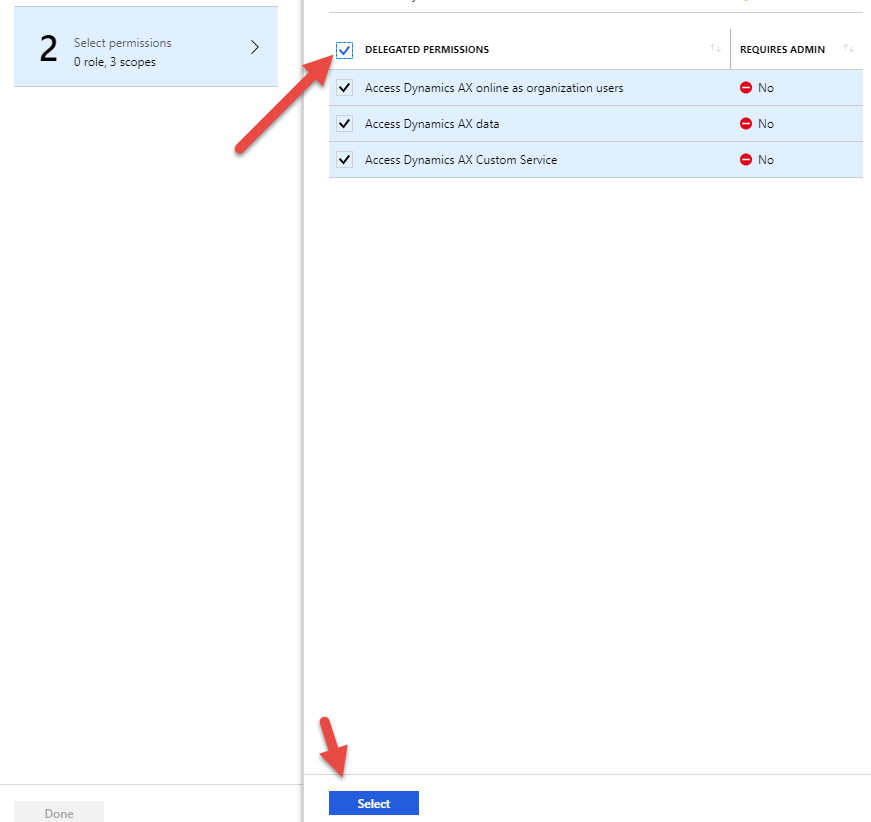
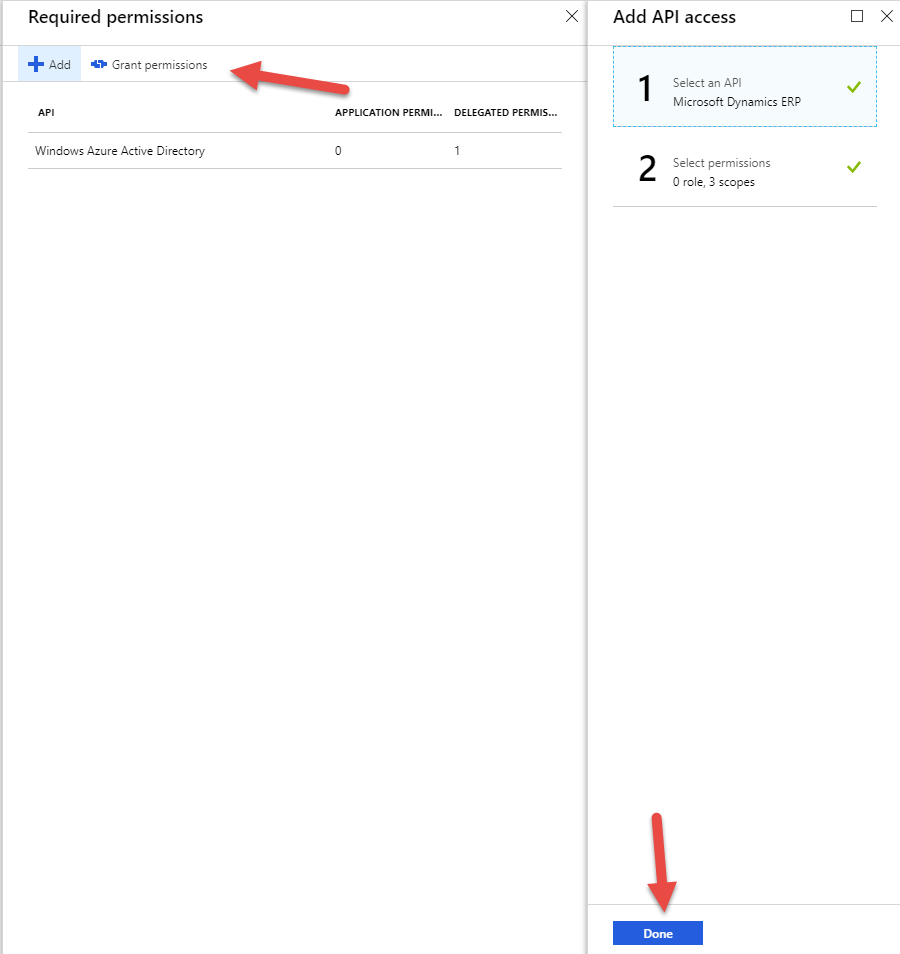
- Now we need to create permissions for Lucy.
Click Settings → Required permissions → Add → Select an API → Microsoft Dynamics ERP → Select → All Delegated Permissions Shown → Select → Done → Grant Permissions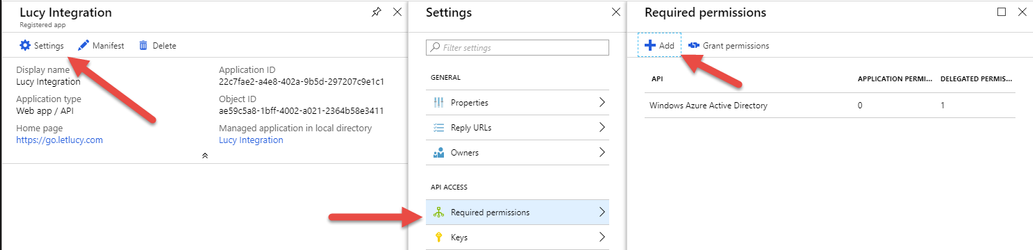
- Create a Key for the Lucy application
Keys → Add a description → Set your expiry → Save
IMPORTANT: Your key will only be displayed ONCE. Please copy it somewhere safe as you will need to add it to the Lucy application.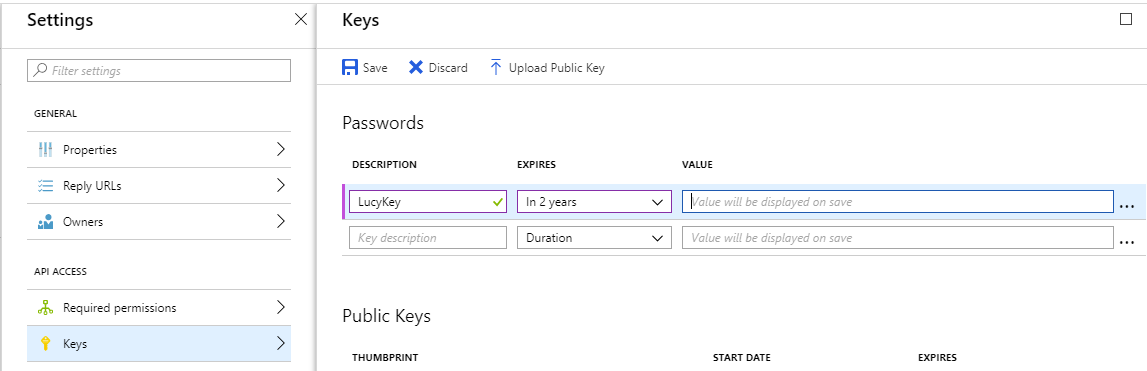
- Navigate to your Dynamics environment
Browse to System administration → Azure Active Directory applications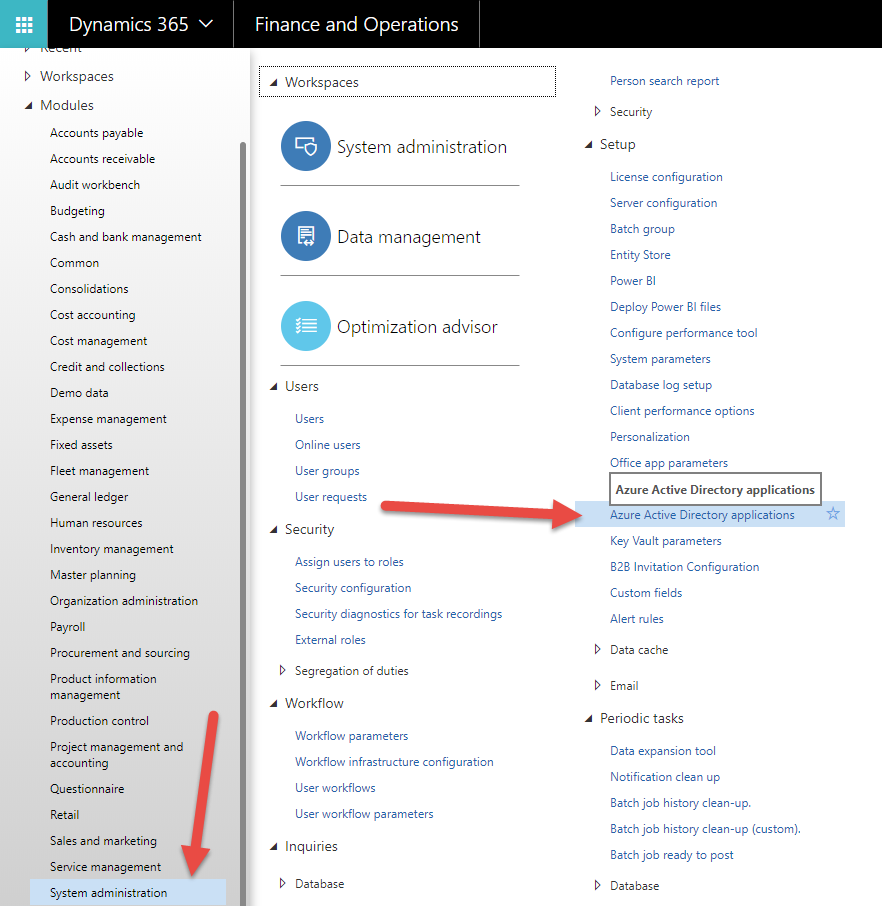
- Click New and add the details as follows:
Client ID - This is the Application ID from Step 5 above when creating a Lucy App Registration in Active Directory
Name - This can be anything you want to use to identify the Lucy AD application.
User ID - This is the User that will be used for all Lucy actions. It can be a real user or a specific User for the purpose of Apps/APIs etc. Important: The User's default company is the one that Lucy will talk to.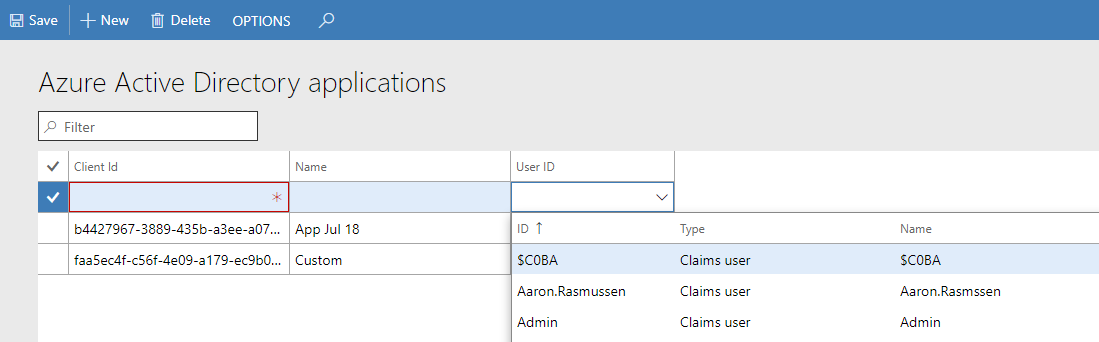
Now that all of the steps within Azure/Dynamics have been completed you need to paste some important information from these steps into Lucy.
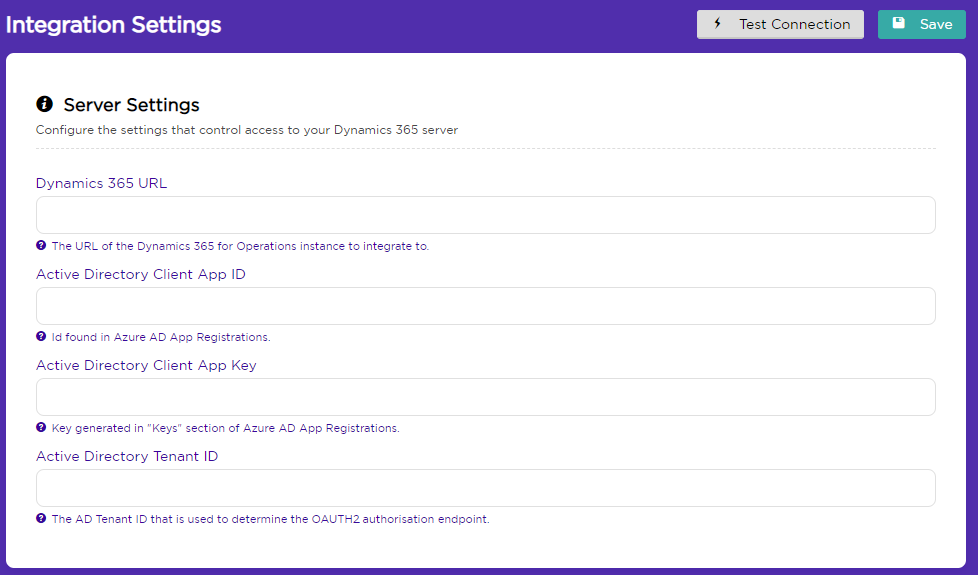
Dynamics 365 URL
This is the URL you use to access Dynamics (e.g. https://CompanyName2957dfa10ef37d07devaos.cloudax.dynamics.com)
Active Directory Client App ID
This is the Application ID from Step 5 of the AD App Registration steps
Active Directory Client App Key
This is the Key from Step 7 of the AD App Registration steps
Active Directory Tenant ID
This is the Directory ID from Step 2 of the AD App Registration steps
More: